

今天小编为大家带来了Blender移动摄像机教程,想知道怎么做的小伙伴来看看接下来的这篇文章吧,相信一定会帮到你们的。
Blender怎么移动摄像机?Blender移动摄像机教程
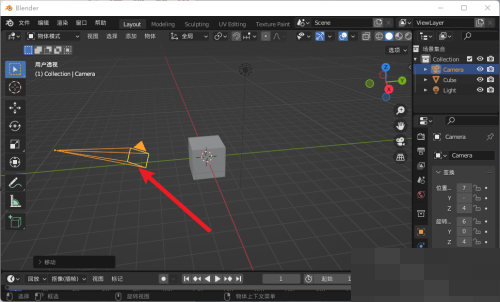
1、首先我们进入到应用当中。
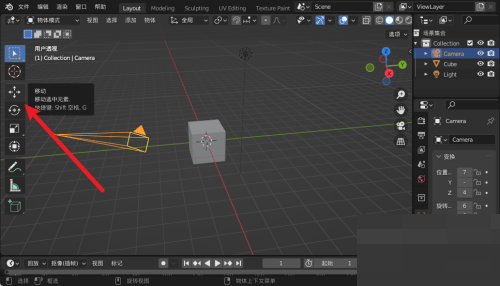
2、然后点击移动图标或按g键。
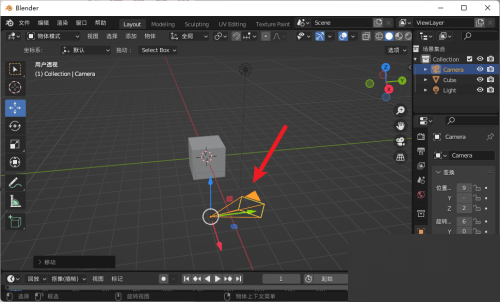
3、最后拖动摄像机到新的位置即可。
以上这篇文章就是Blender移动摄像机教程,更多教程尽在本站。
文章声明:以上内容(如有图片或视频在内)除非注明,否则均为模板汇原创文章,转载或复制请以超链接形式并注明出处。
本文作者:管理本文链接:https://baijiaci.com/news/3573.html